Joystick Setup & Calibration
|
If you prefer a video, then please visit our Youtube channel to see how to configure your joystick. Proper configuration of your joystick is a must. Taking your time here will be very beneficial to your enjoyment of the game. If you have not calibrated your joystick(s) in Windows, please do so before continuing. You will find the Windows calibration tool in the Control Panel (Start->Settings->Control Panel). It may be named Gaming Controllers, or Joysticks or something along those lines. We will start from the clipboard with you located in the tower. |
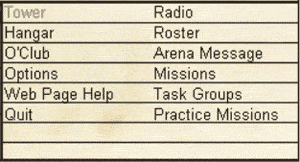 Press/select the Options menu item. Press/select the Options menu item. |
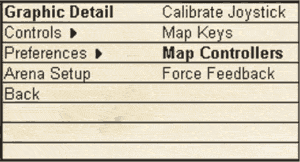 Now select the Controls option. Now select the Controls option. |
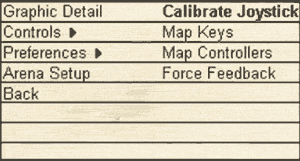 From the menu that pops up, select Calibrate Joystick. From the menu that pops up, select Calibrate Joystick. |
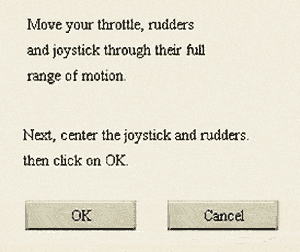 The panel to the right will cover the upper section of the clipboard. The panel to the right will cover the upper section of the clipboard.
Do exactly what it says. Move all your wheels, rudders, and joystick through their full range of motion. Release all the sticks back to their default positions and then press the OK button. After you press the OK button, the panel will clear and you will see the terrain map reloaded on the clipboard. Your joystick should now be calibrated in the game. |
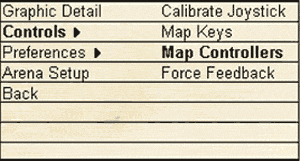 You now need to map any inputs which are not mapped to your joystick and/or verify its operation. For that you need to select the Map Controllers option from the menu. You now need to map any inputs which are not mapped to your joystick and/or verify its operation. For that you need to select the Map Controllers option from the menu. |
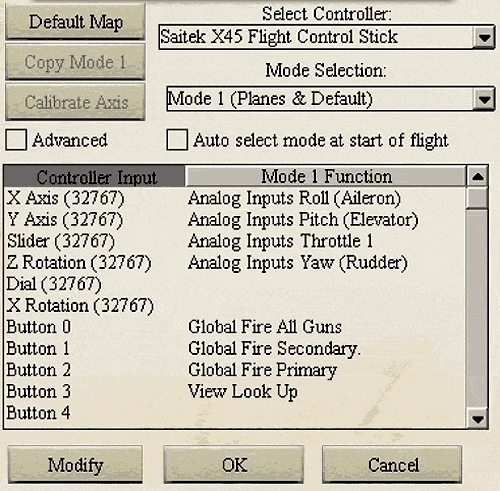 |
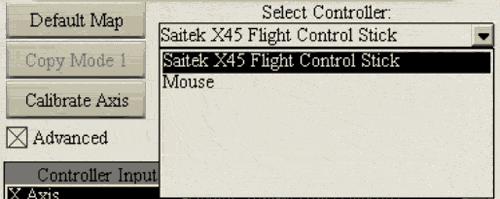
| Select Controller: The Map Controllers selection will present you with a screen similar to the one below. In the upper right corner is the Select Controller drop down list. If you have more than one stick connected, press the drop down arrow to view and select the stick you wish to configure. |
 |
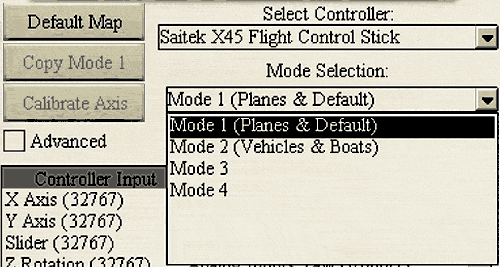
| Mode Selection: The drop down list directly below the Select Controller is the Mode Selection option. Here you can select which mode you want the commands to be applied to the inputs from the stick. You might use this to configure one mode for flying a plane, another mode for vehicles, and so on. By mapping the command to select which mode, you can instantly change the command mappings from one mode set to another. If you check the "Auto select mode at start of flight", the game will switch between "Mode 1 (Planes)" and "Mode 2 (Vehicles/Boats)" automatically. You will see a text message in the radio text box indicating which mode your joystick will be using. |
 |
| Default Map, Copy Mode 1, Calibrate Axis: To the immediate left are three buttons. The Default Map loads and configures a basic set of command mappings. The Copy Mode 1 button allows you to copy a command set from one mode to the currently selected mode (other than 1). The Calibrate Axis allows you to calibrate a specific axis, wheel, slider, dial, or rudder input. |
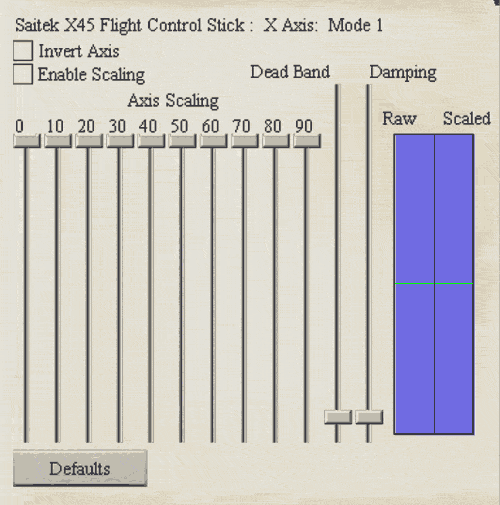 |
| Advanced: Checking the Advanced check box will cause a panel to swing out from the clipboard showing information similar to the screen shot above. Across the top of the panel, is the name of the stick currently selected, the input currently selected from the Controller Input list, and the mode currently selected from the Mode Selection drop down list. |
 |
|
Auto select mode at start of flight: Modify: Controller Input: Mode # Function: OK: The Cancel button is used to discard any changes made. |
|
Ok, so all this is neat, but how do you map a function or command to the various joystick inputs? Good question! |
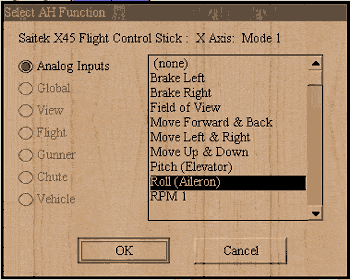 Simply double-click on the input from the Controller Input list that you wish to map a command/function to. Simply double-click on the input from the Controller Input list that you wish to map a command/function to.The menu, shown at the right will appear. Select the command or function (Analog Inputs) from the list, then press the OK button. When you return to the Map Controllers panel, the new command is shown next to the input you selected to map. Pretty neat, huh? |
| Repeat the mapping process for each input you wish to map in the game.
Note, in many cases the actual name of the stick input does not correlate to what you may think it should. In this example the "Slider" is for the throttle, but it could easily be a "Z-Axis" or "Z-Rotation" input as well. To determine what axis may be assigned to the throttle, simply move the throttle to its extremes, repeatedly, and watch the number in parentheses change. The numbers are the raw input from the stick. It is then a simple matter of assigning "Throttle 1" (from the mapping window under Analog Inputs) to the selected input of the joystick.
|
| When you are done mapping, simply press the OK button and your joystick should be ready to use. |
Previous page: Flight Controls
Next page: Detailed joystick settings