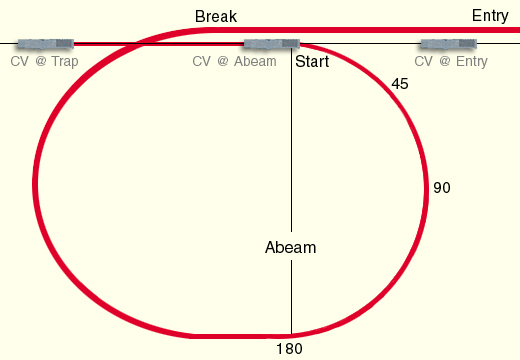
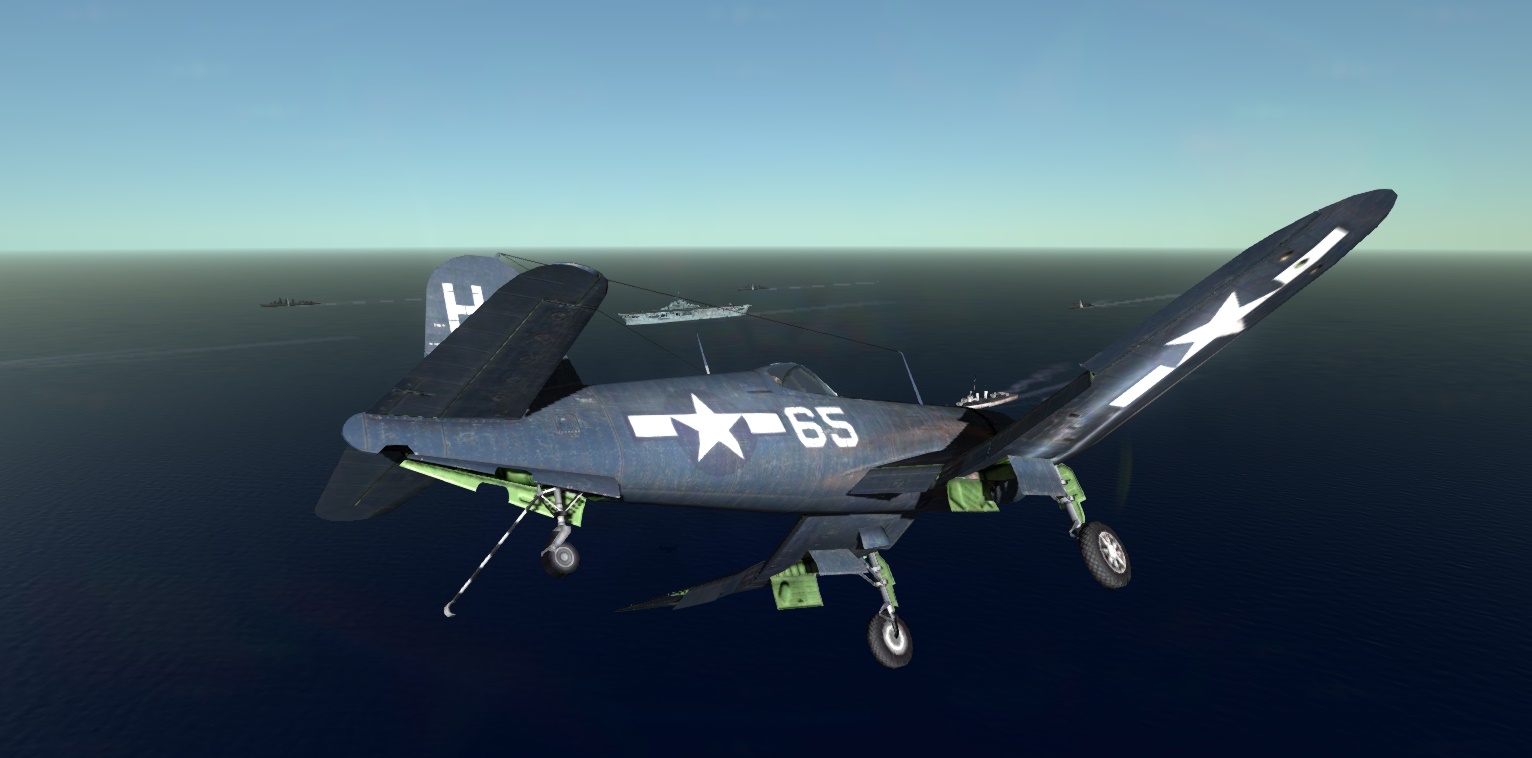
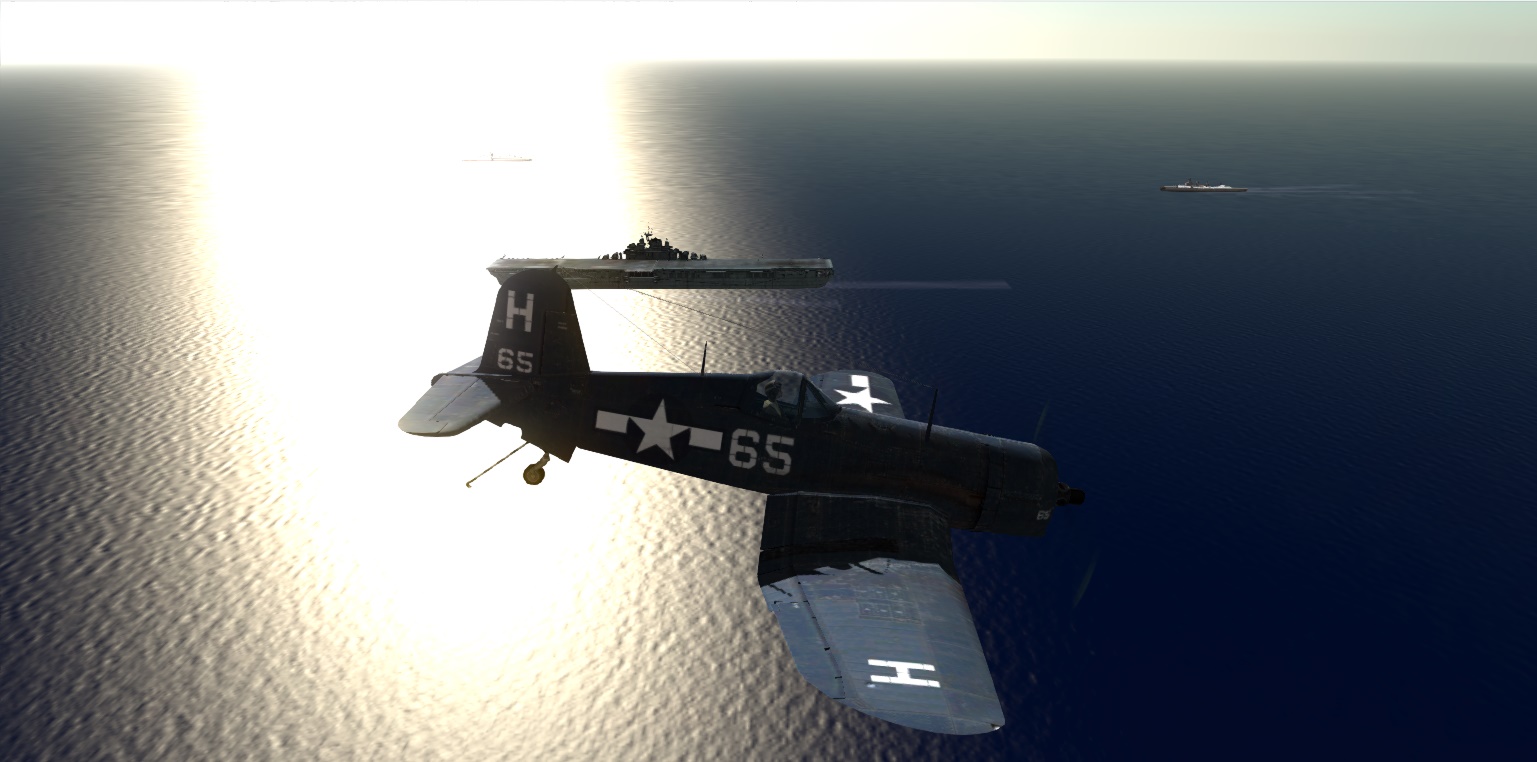
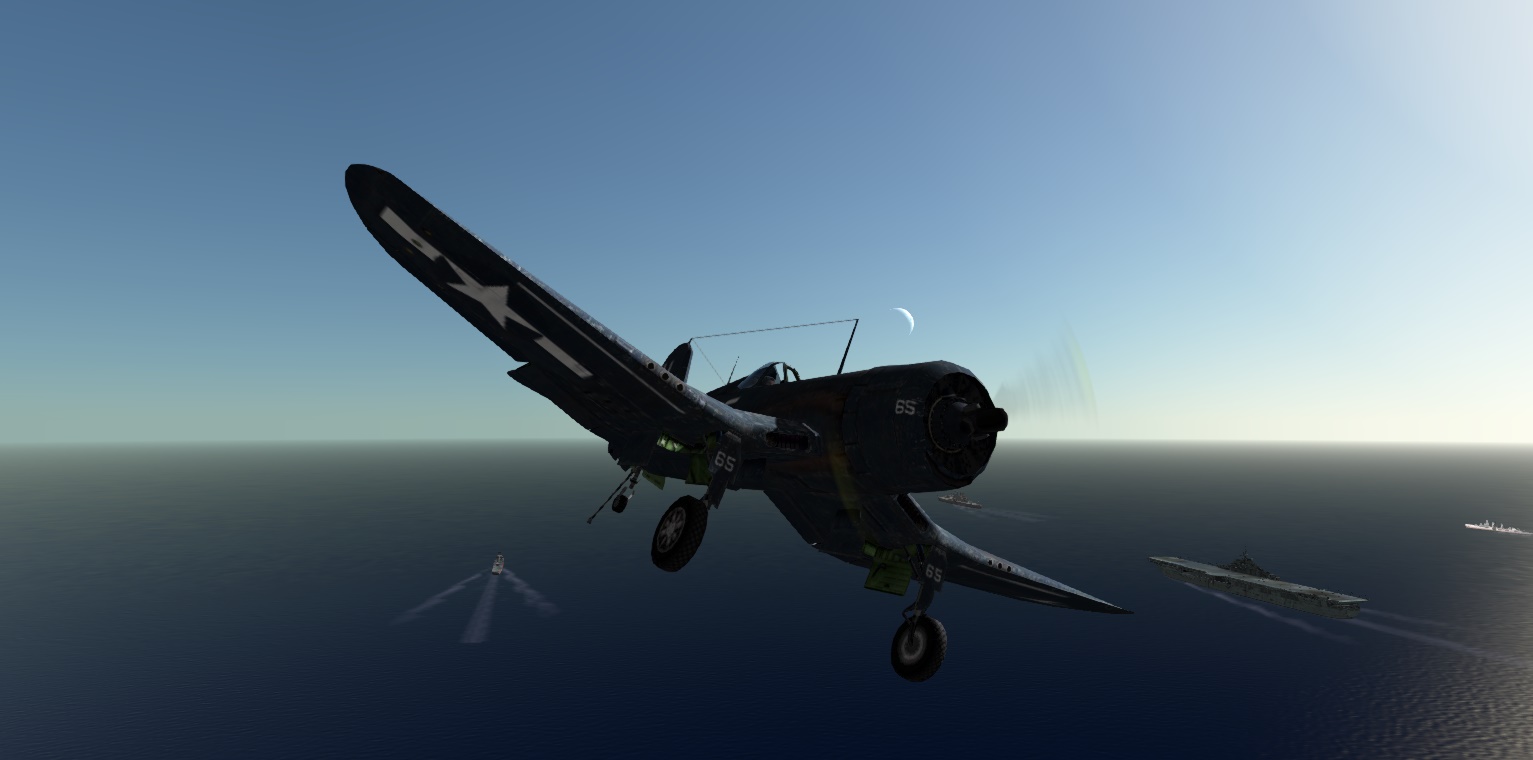
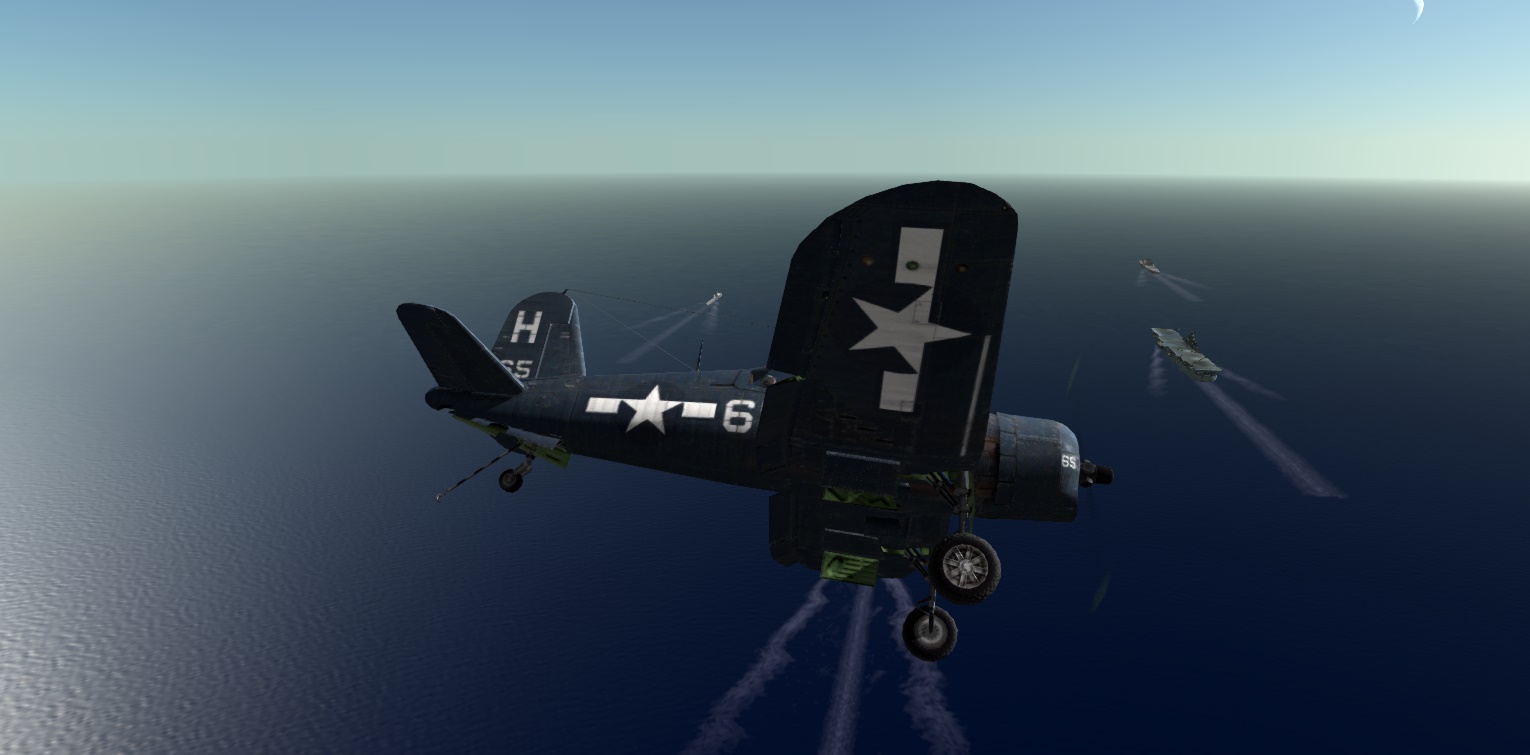
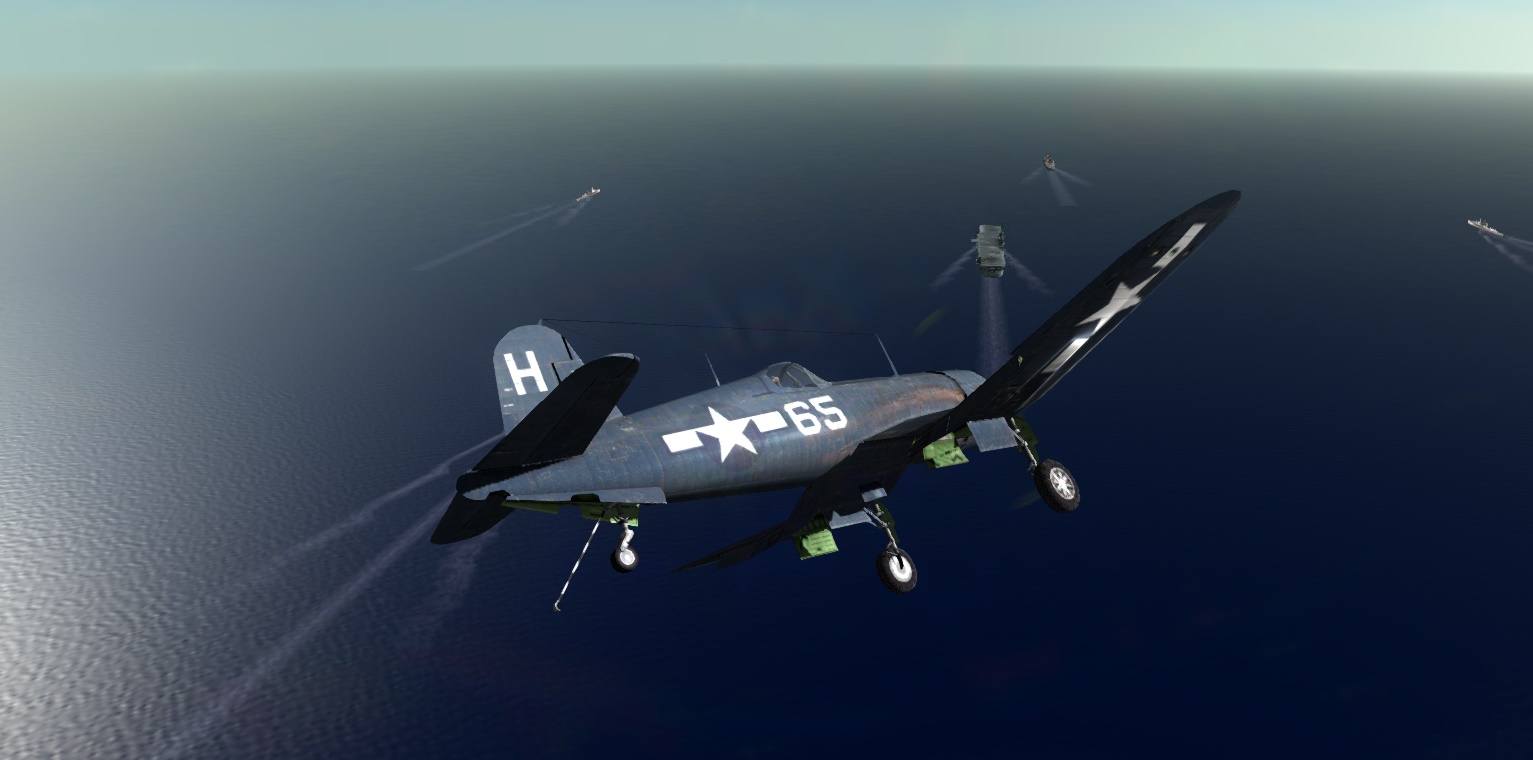
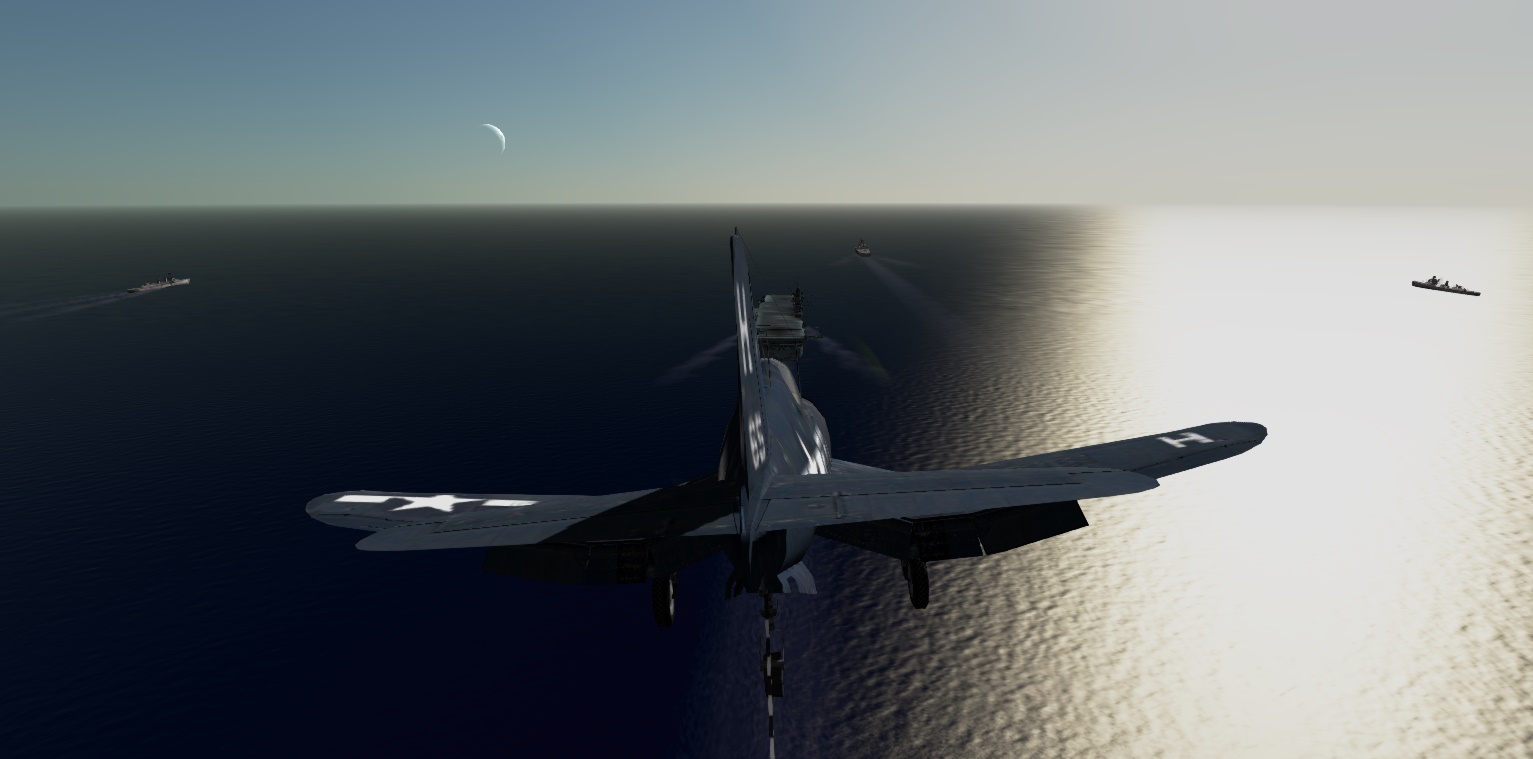
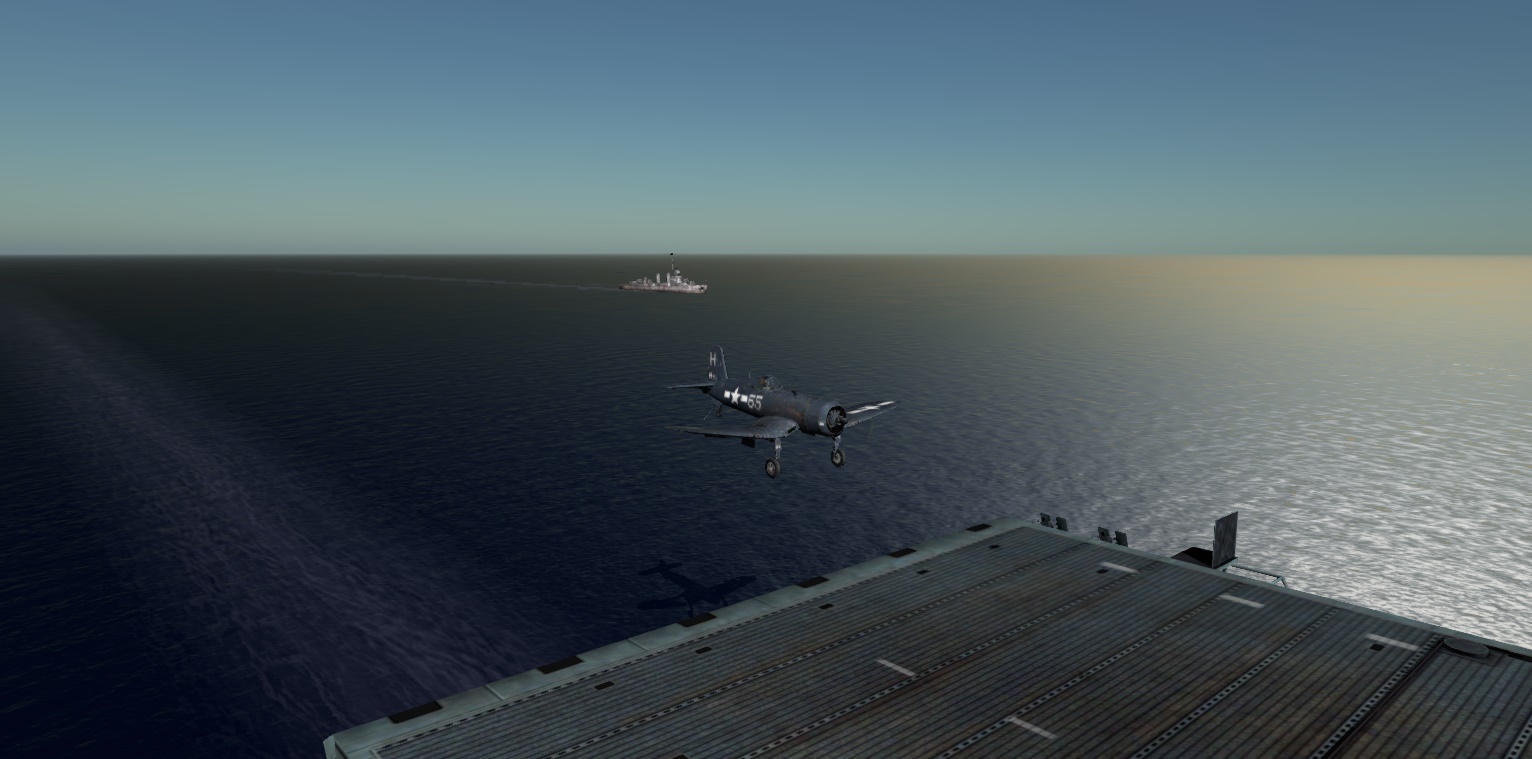
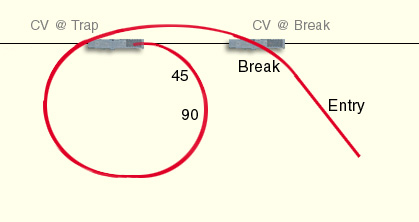
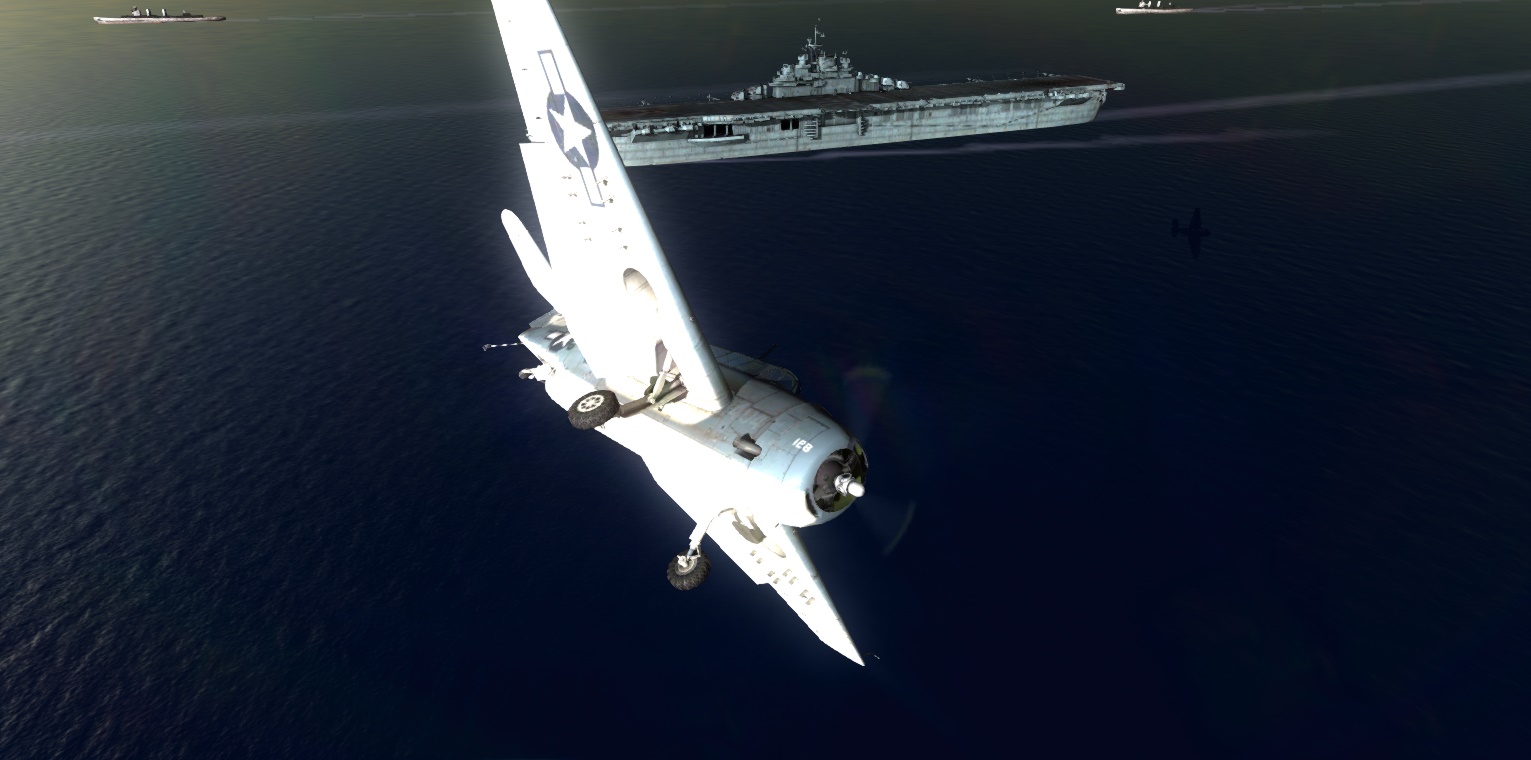
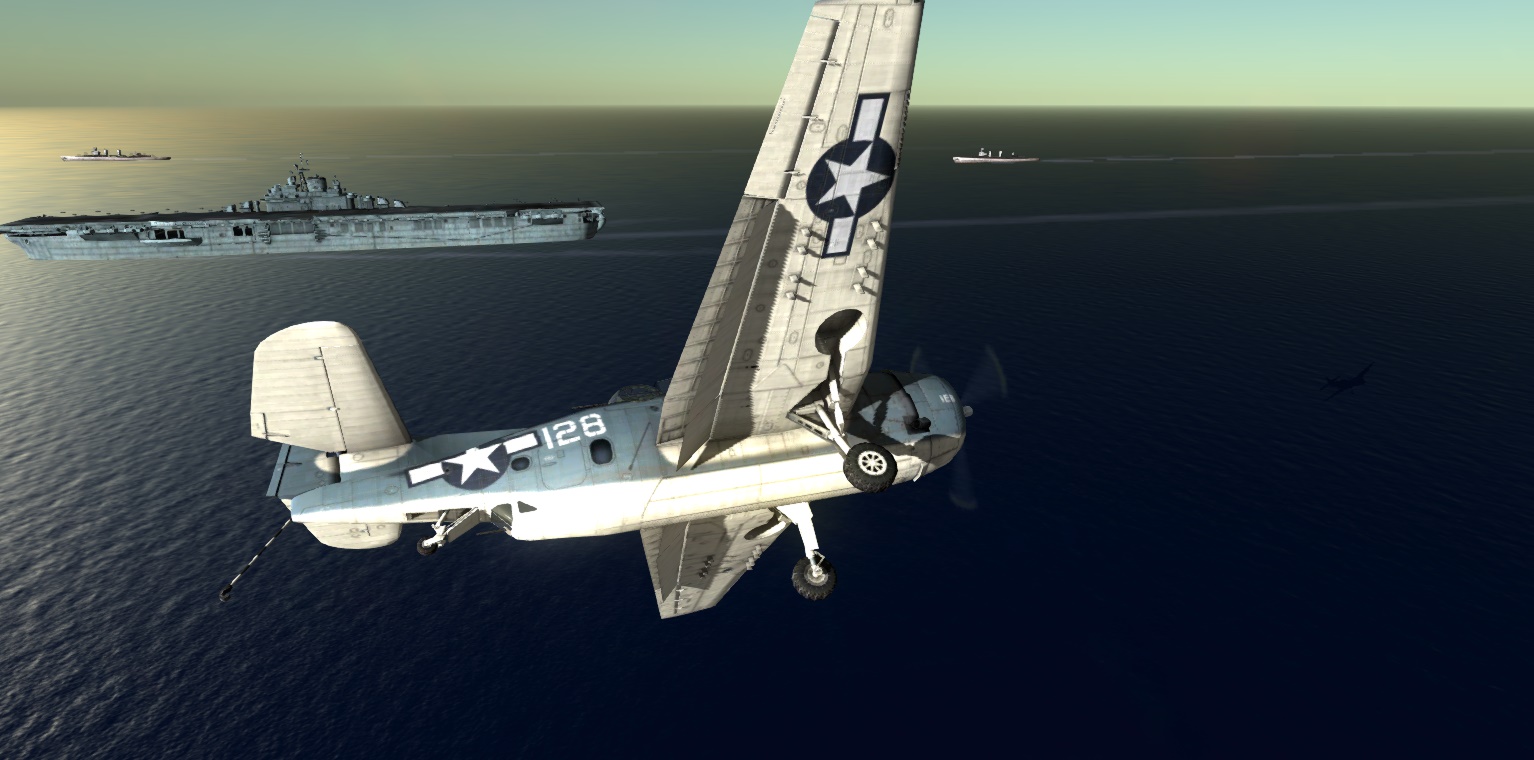
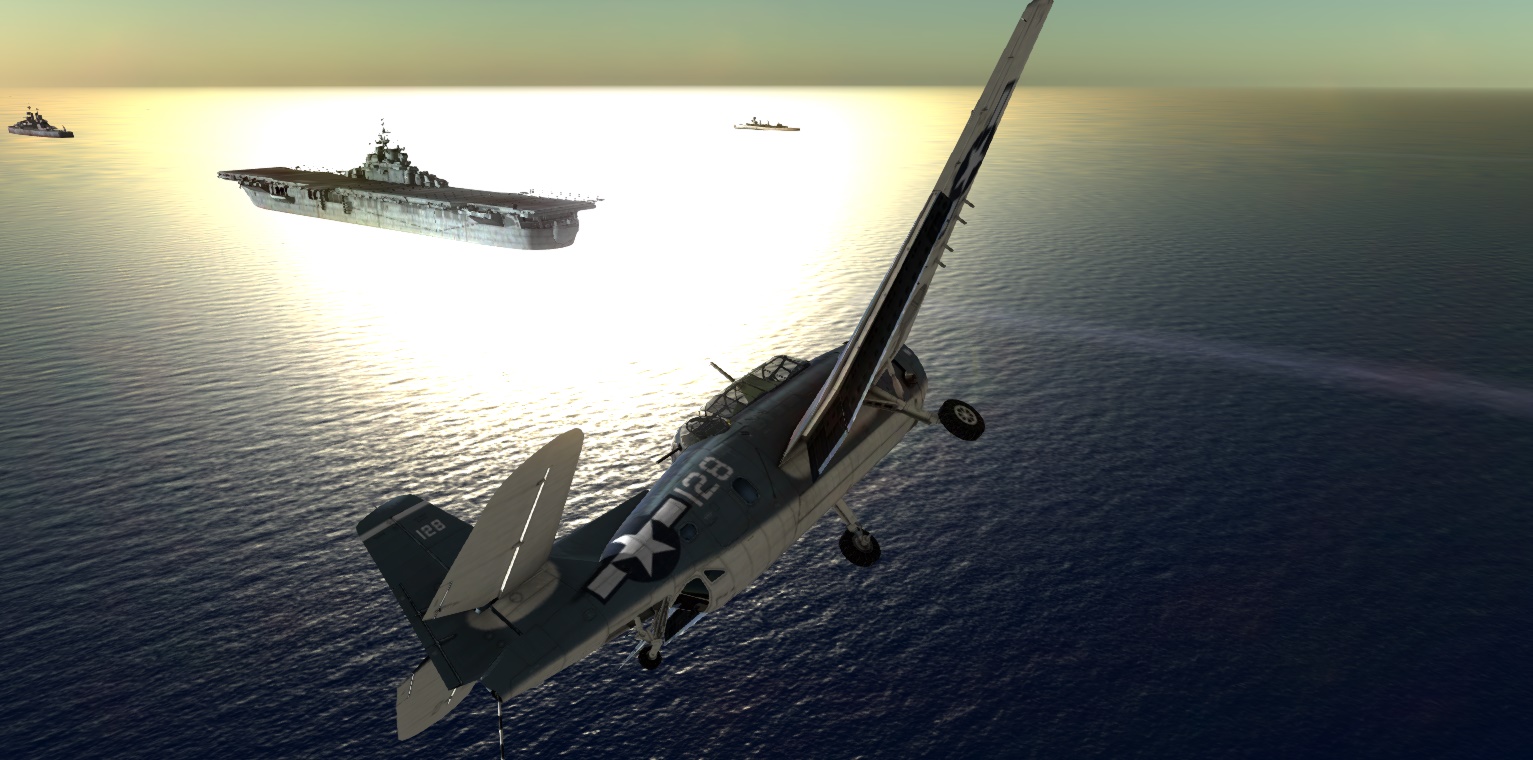
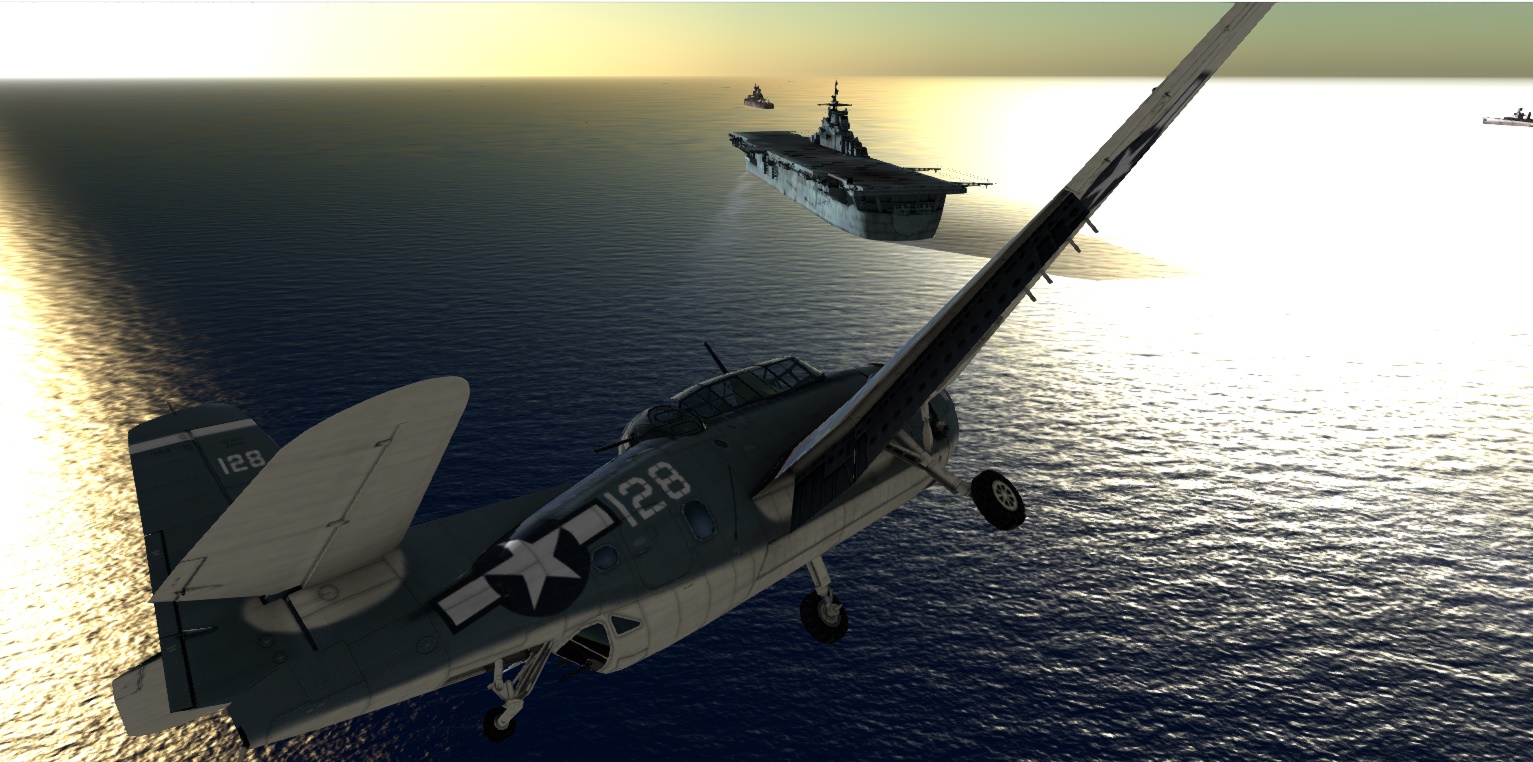
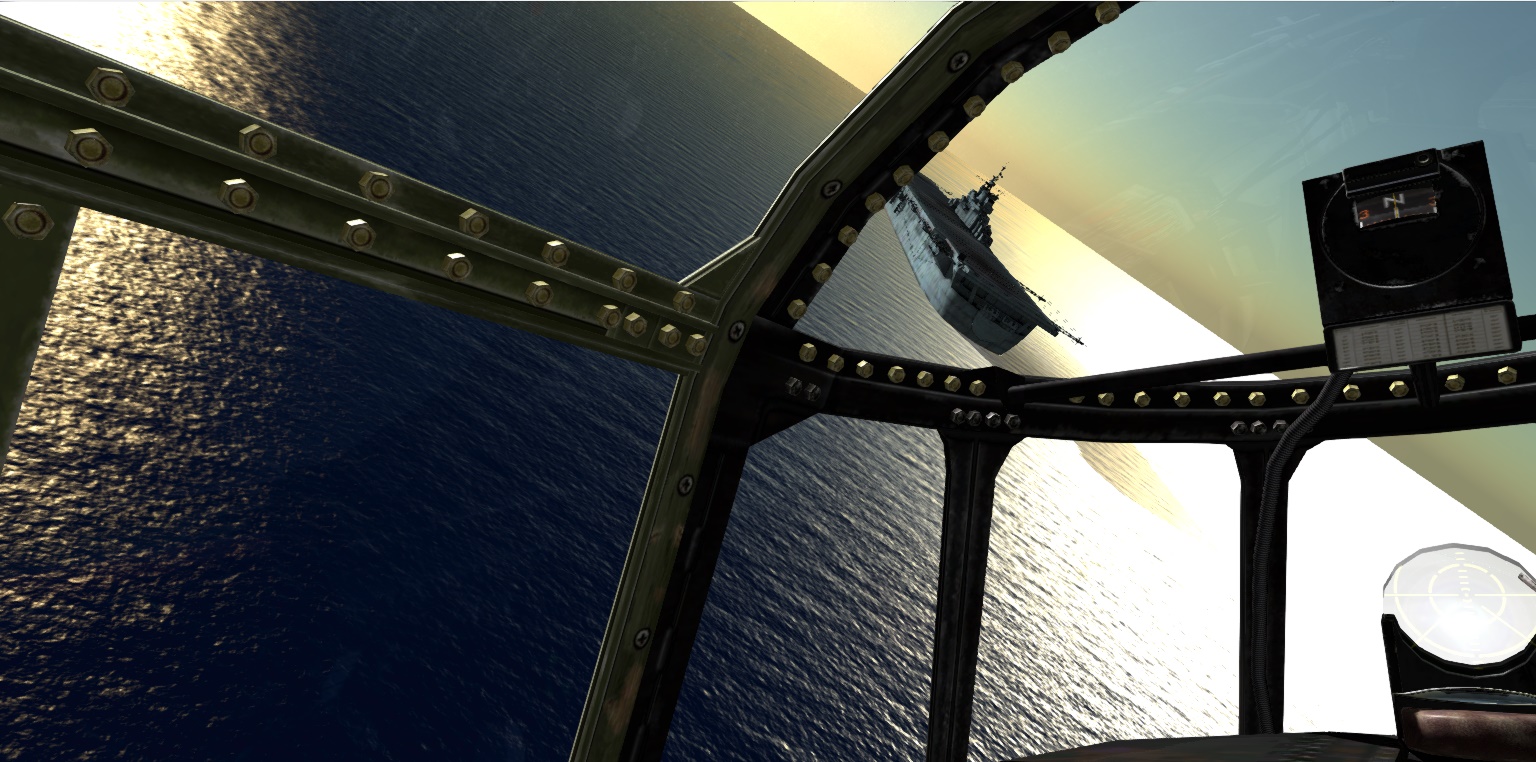
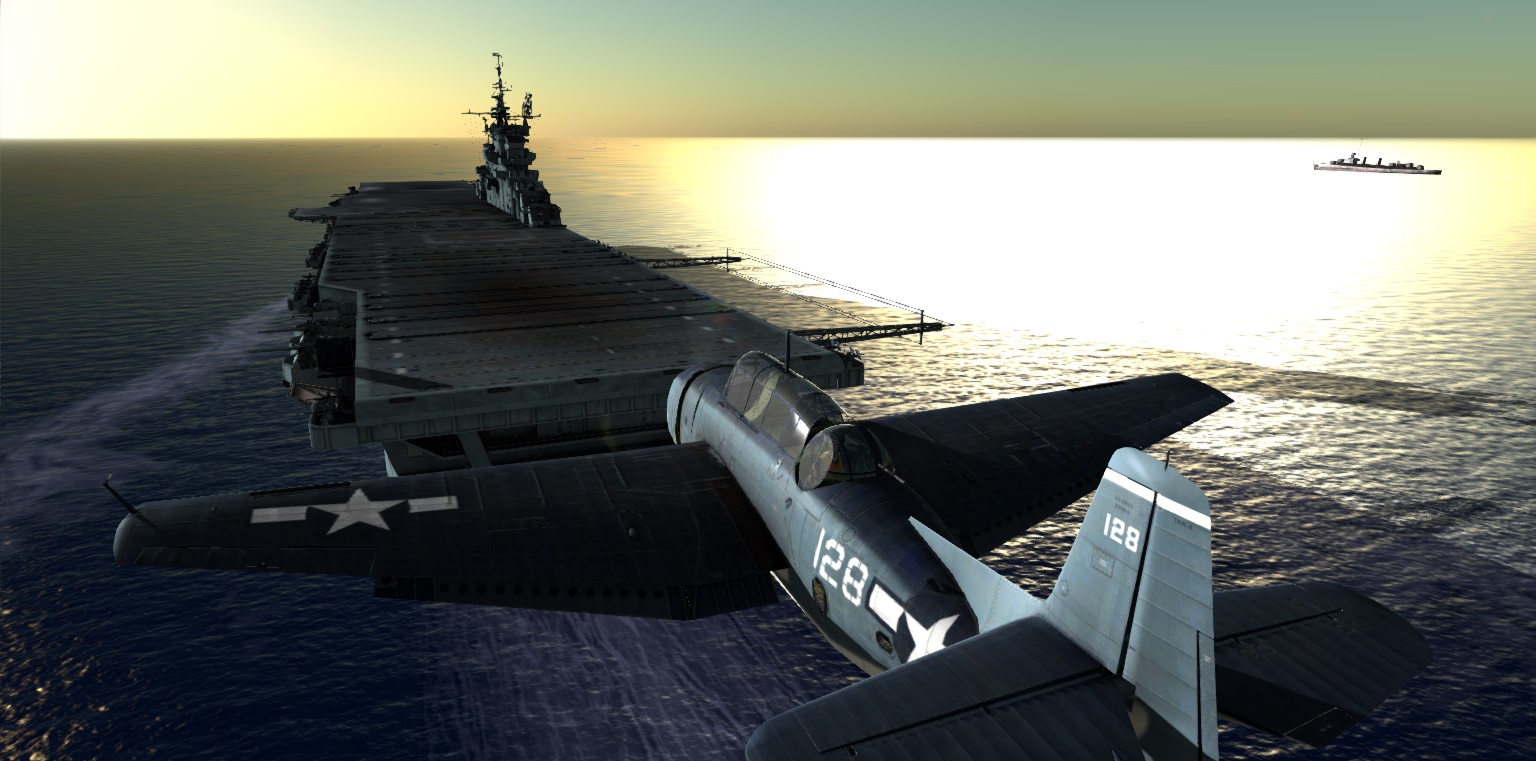
by RolexA carrier landing is similar to an "overhead" approach on land, but called a "break turn" approach. The carrier will travel over one mile during the pattern, so the pattern will resemble a complete loop instead of an oval racetrack. The exact approach depends on the plane, but this will present a generic landing pattern. After you've made a few successful landings, you can modify it by starting at a lower altitude and using a tighter turn. When you're heading to the carrier, do it at the speed of heat. In combat conditions, enter the break (or the overhead at an airfield) at full speed just in case there's a bandit in the area. You'll have the energy to shoot him down before you land. In peace time you do it to look cool. Also, it gets you on deck quicker than a long, drawn out, straight-in approach. The key is to use the break turn to bleed off all that extra speed. Controlling your rate of descent will be important. Remember that power controls altitude and elevators control airspeed. To increase rate of descent, decrease power. To decrease your rate of descent, increase power. TerminologyCV - aircraft carrier
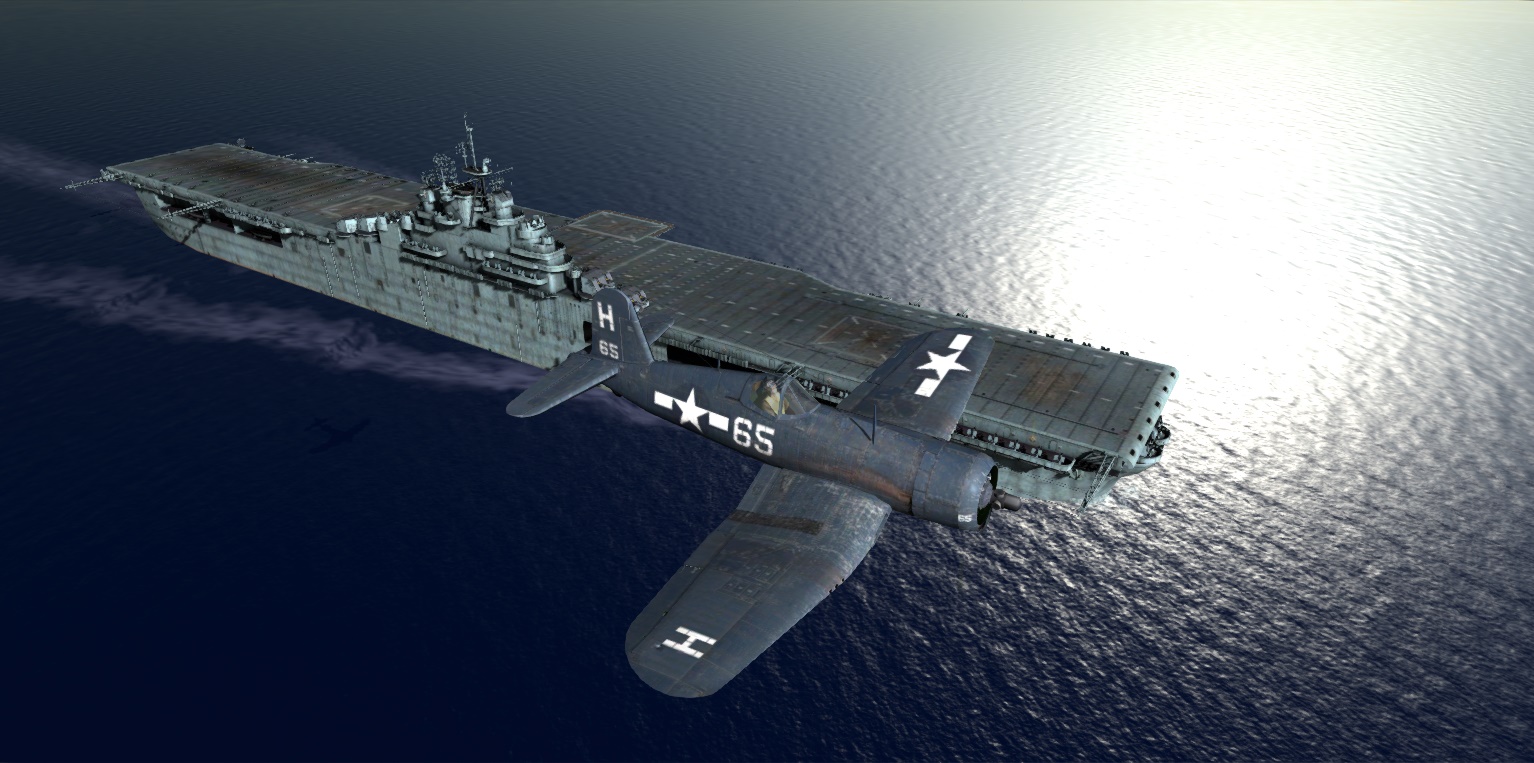
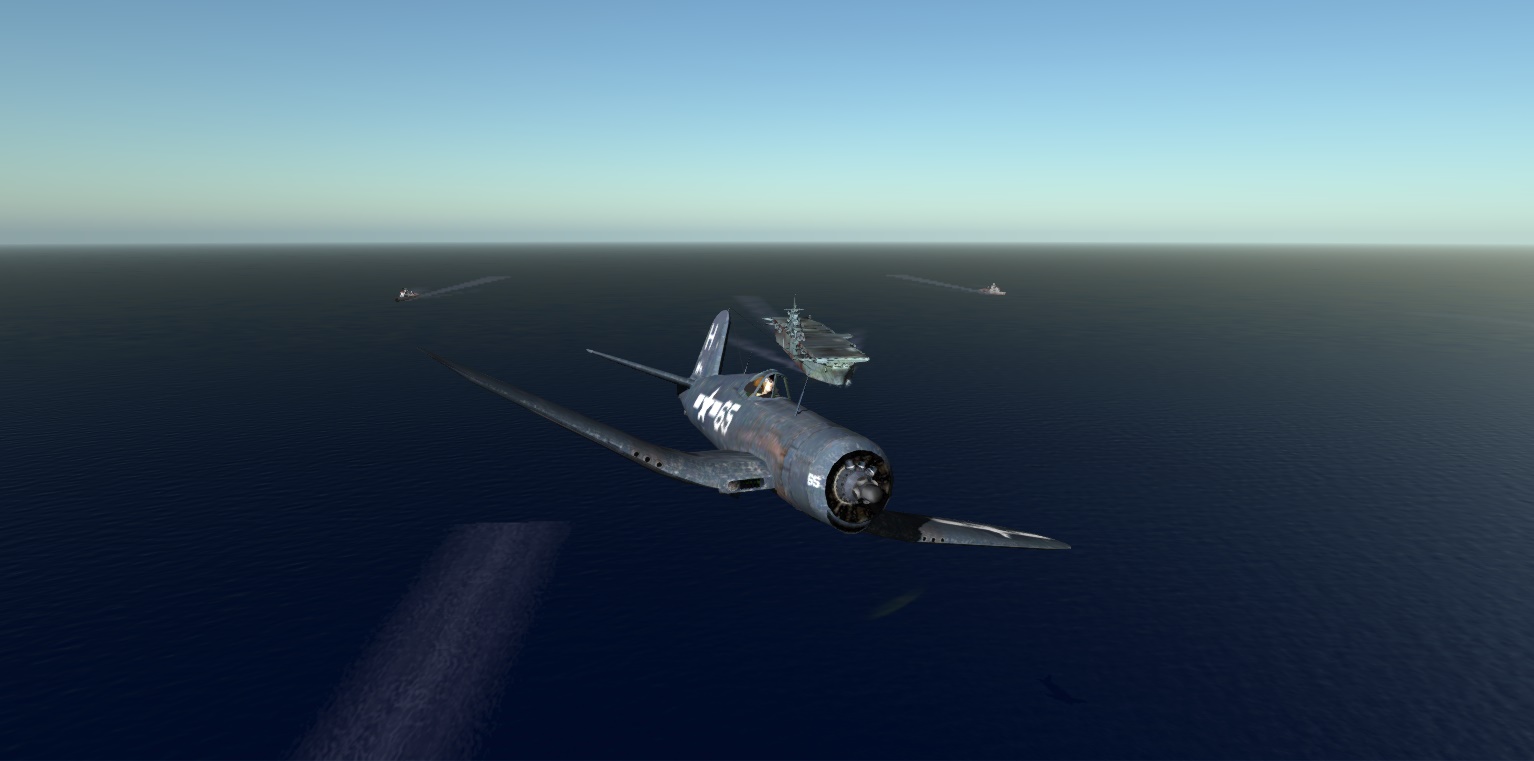
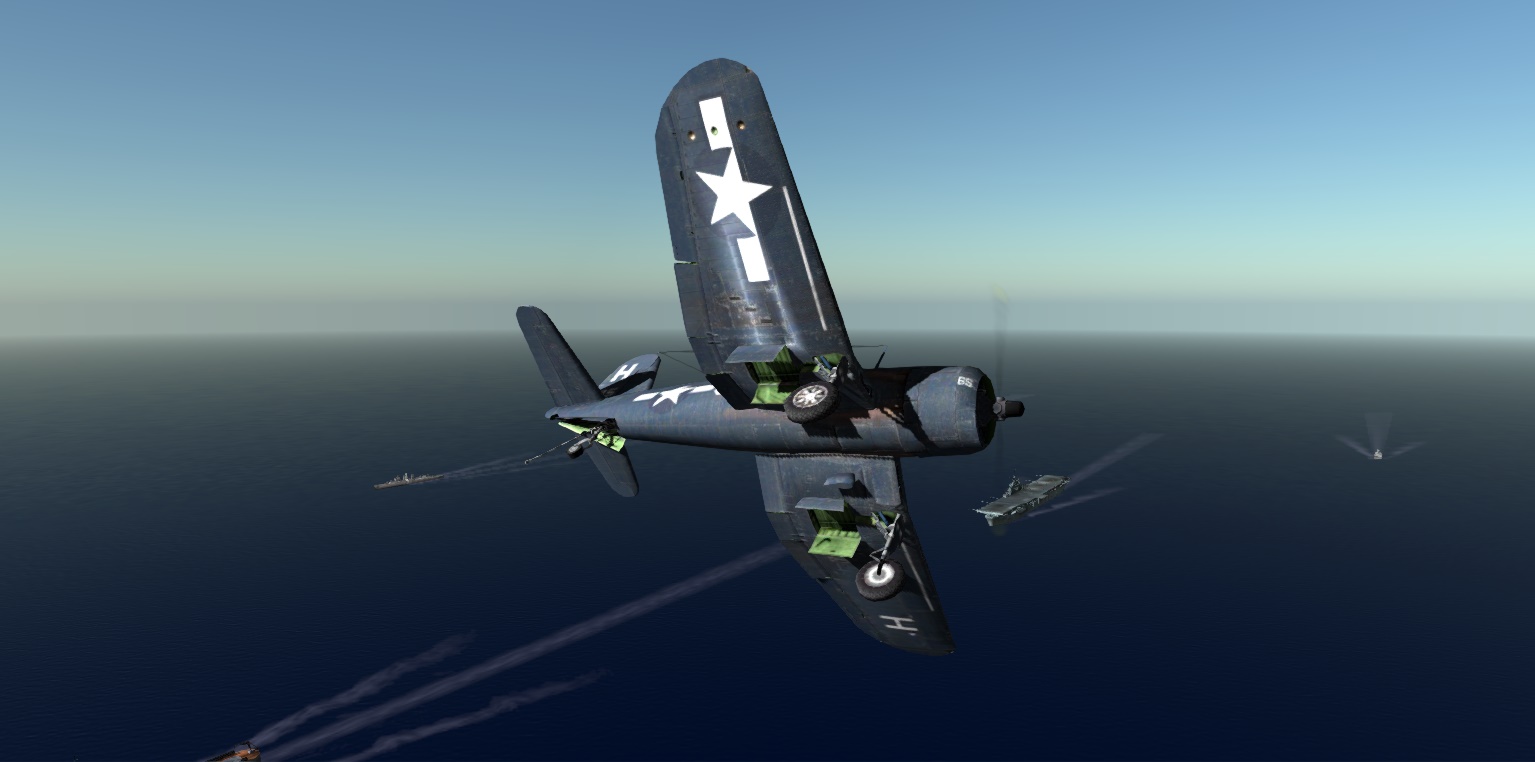
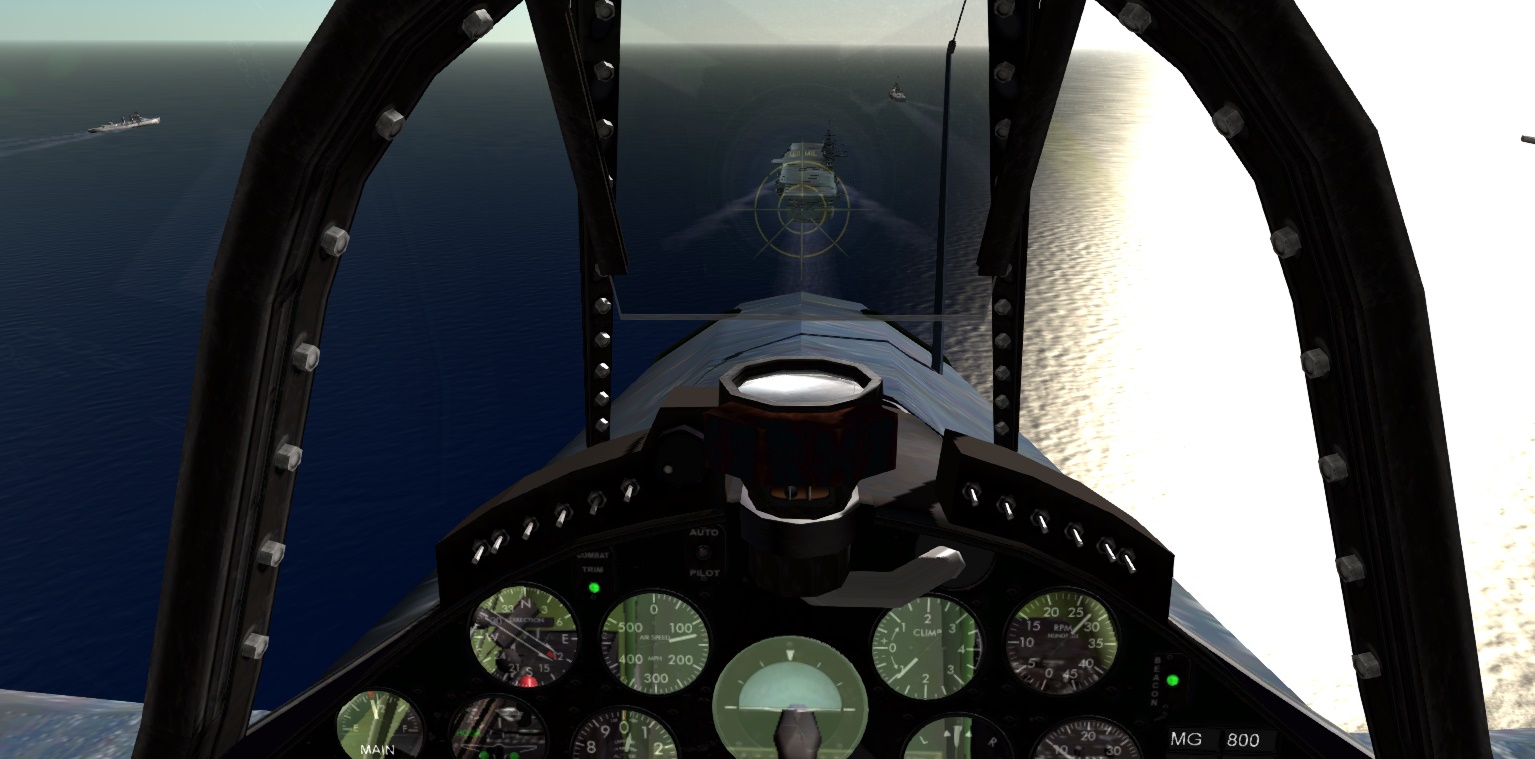
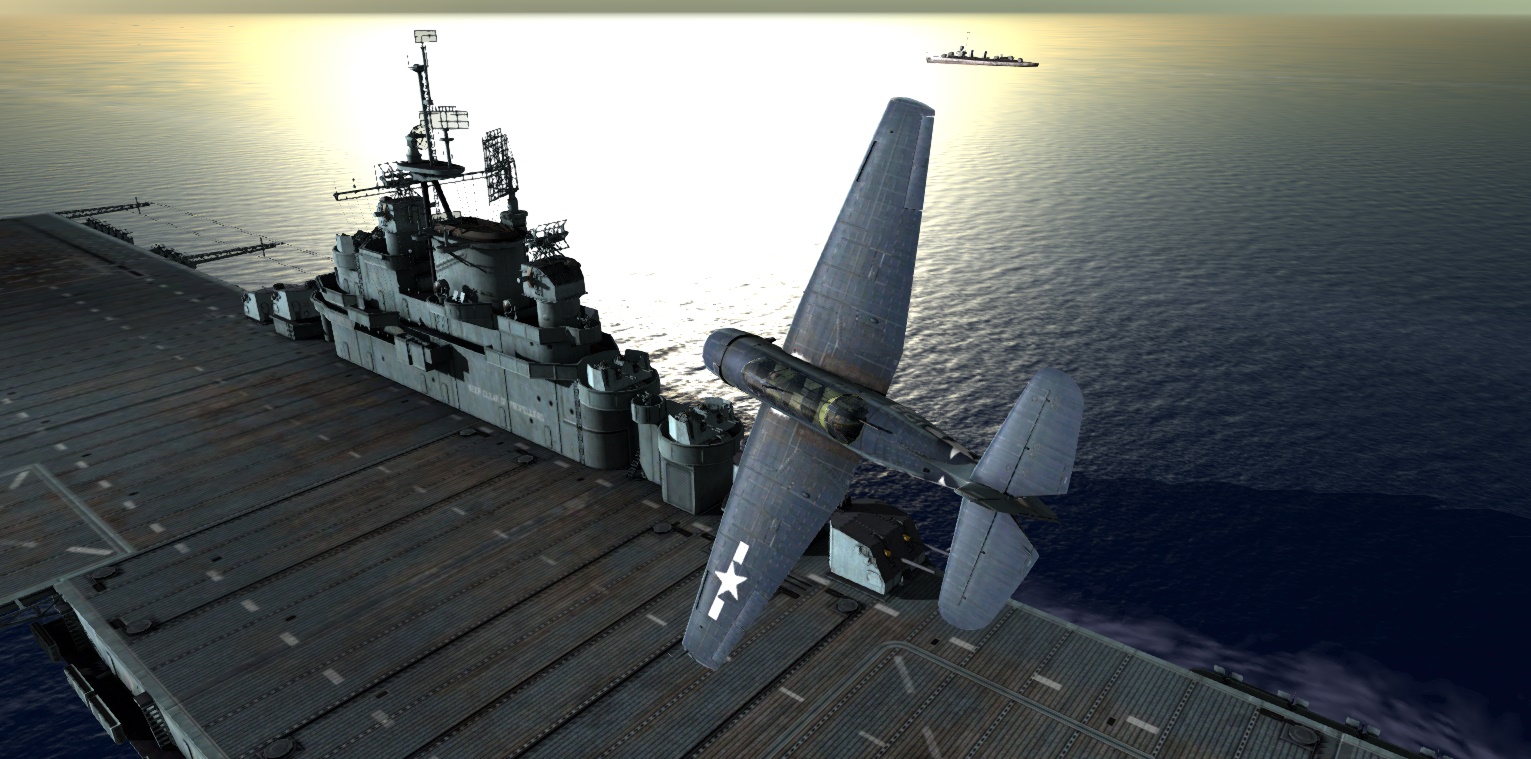
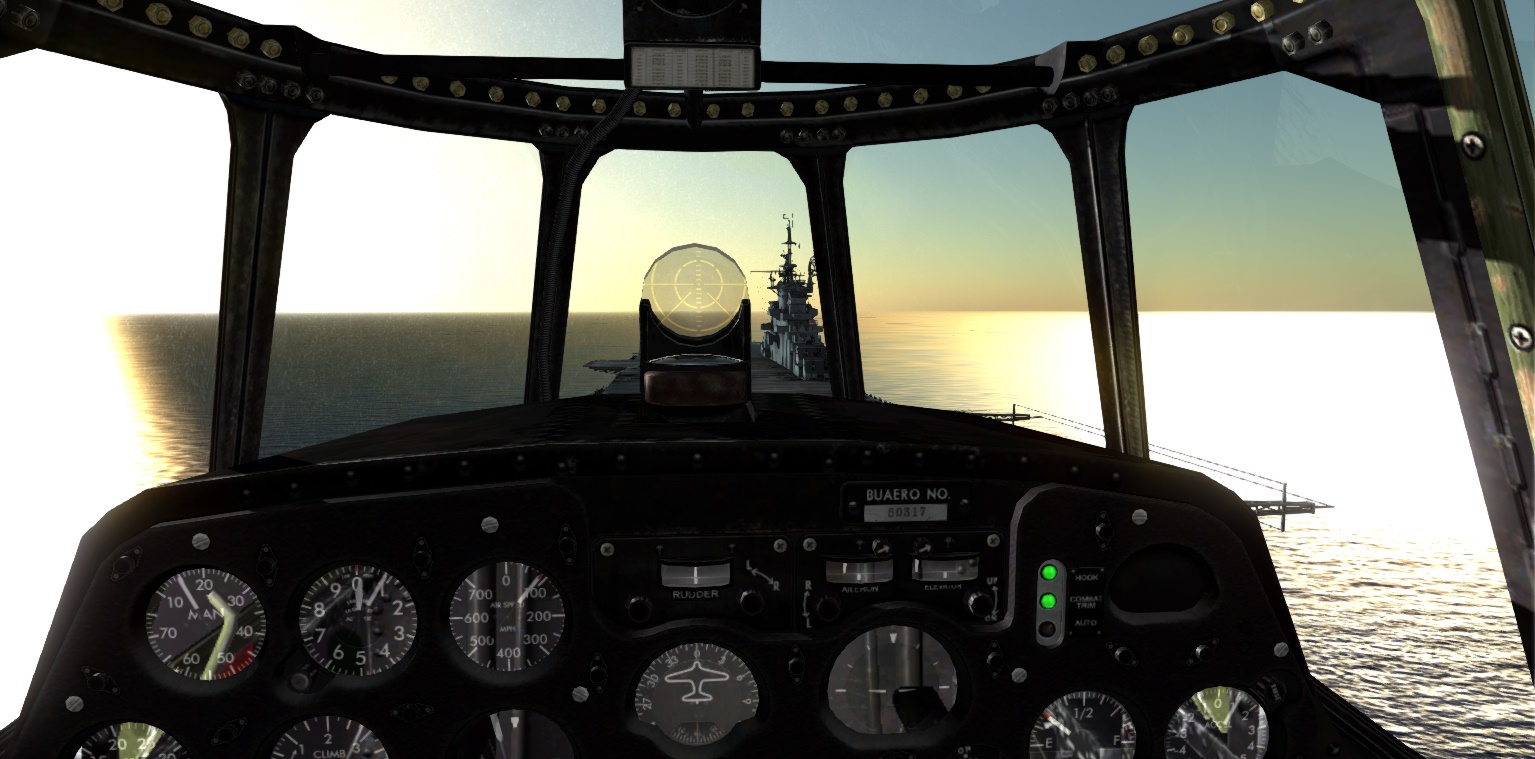
Notes: *When using Combat Trim, the aircraft will pitch up when lowering flaps <Q>. You can either push the nose down or add down elevator trim <I> until slight back pressure is necessary to hold the aircraft level. Combat Trim disengages when any trim is used. Make sure you're less than 130 mph at the cut and your Angle of Attack (AOA) is high enough to not bounce on the main gear and miss the arresting wires. If you do bolter, smoothly add power. Don't raise the nose too fast or too much. Retract landing gear <G>. Caution: adding power too quickly in the F4U may cause a violent torque roll to the left. Bank right as you roll in power. Do not retract flaps because you will sink quickly from the lost lift. Establish a shallow, positive rate of climb and build speed before you begin slowly retracting flaps <W>. Perform a climbing turn to the left and establish yourself on the downwind leg for another try. It's your turn in the barrel! After you've begun the 180° turn for landing, your scan outside the cockpit to your landing point increases from mostly outside after the 90 to almost completely outside the cockpit after the 45. Your throttle and control inputs become instinctive from the sight picture. Check the section on the Look Forward to set a view looking down the cowling like you see in these cockpit screenshots. Advanced Carrier LandingsAfter you've made a few successful landings using the basic technique to stay ahead of the aircraft, it's time to try a more aggressive, tighter carrier loop. The goal is to keep within the perimeter of the fleet and get the aircraft on the deck even faster. You'll go from full speed and power over the CV to landing on the deck in less than 45 seconds. This technique is a continuous, descending turn around a moving point, allowing the pilot to keep the CV and Landing Signal Officer (LSO) in view. You will not be "dragging" into the CV at low speed and high power, requiring a high Angle of Attack (AOA) and reducing your visiblity over the nose.
|

Carrier Landing
Flight Instruction
Courtesy of Zeno's Warbird Videos
