Torpedoes (Air Attack)
|
| Type |
Speed |
Range |
Run Time |
Drop Altitudes |
| American (Slow Type) |
39 mph | 4,570 yards | 4 mins |
960'
@ 200 mph 500' @ 225 mph <200' @ < 250 mph |
| German/Japanese (Fast Type) |
47 mph | 2,300 yards | 1 min 40 secs |
460'
@ 175 mph 300' @ 185 mph <200' @ < 200 mph |
To arm properly, slow torpedoes must enter the water at less than 250 mph. Fast torpedoes must enter the water at less than 200 mph.
Fleets steam at a standard speed of 34.5 mph (1000 yards/minute). Fleets can steam faster than standard for several minutes after turning.
Torpedo damage is double ordnance weight to account for damage under the water line.
One slow torpedo does 4,000 lbs. of damage. One fast torpedo does 3,520 lbs. of damage.
Sinking cruisers and destroyers requires 2,000 lbs. of damage, so one torpedo of any type will sink an undamaged cruiser or destroyer.
Sinking a CV requires 8,000 lbs., so two slow torpedoes will sink an undamaged CV. Three fast torpedoes will sink an undamaged CV.
Using fast torpedoes, you must wait at least 10 seconds after the fleet auto-ack begins firing at you before releasing. If you don't, your torp(s) will stop running before hitting the target.
Using slow torpedoes, you can drop before the auto-ack begins firing, but that gives the fleet more time to detect and avoid your torps. The recommended drop point is where the fleet ack begins firing.
The approach with the best chance of success is an attack run perpendicular to the fleet course, releasing when the bearing to the center of CV is 41° for slow torpedoes or 36° for fast torpedoes. Immediately after releasing, egress in the same direction as the fleet course at full power, descending to 50' or less.
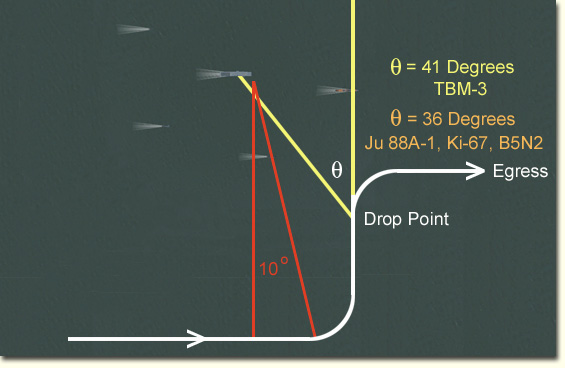
So how do we determine 36 or 41 degrees to our target from the cockpit? We'll set a visual reference for each plane as a bearing line. After we set it, we need to bring 4 parameters together at the drop point:
- Altitude under maximum for torpedo type
- Airspeed under maximum for torpedo type and altitude
- Heading perpendicular to fleet course
- Target on bearing line
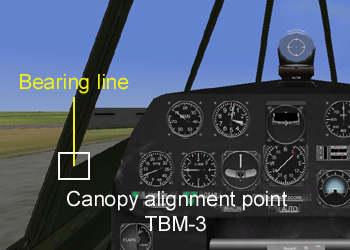
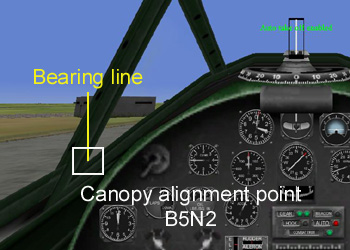
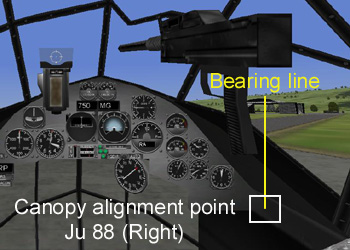
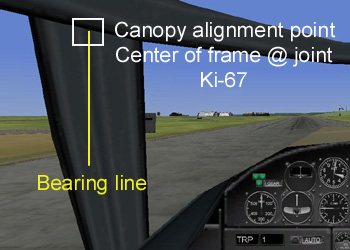
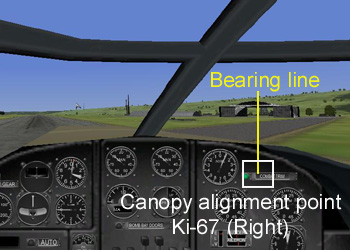
Here are the bearing lines for each aircraft. Release when the bearing line is on the center of the target ship. You can place your mouse along the line just below the horizon or use the clipboard. If using the clipboard, reduce the size substantially and place the edge on the canopy alignment point. If your attack run is from the port side of the fleet, the right-hand alignment points for the TBM-3 and B5N2 are symmetrical.
Important: You must move back from the default cockpit view [Home] for these alignment points. Use the [Down Arrow] key below the End key to move back fully, then [F10] to save the view.
 |
 |
|
 |
 |
|
 |
 |
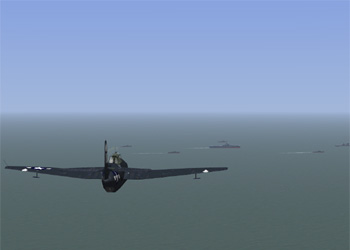 Approach Approach fleet @1500', 250 mph Scan horizon to spot fleet |
 Cockpit View Zoom to maximum [Z] []] When CV wake is in view, turn to fleet course |
|
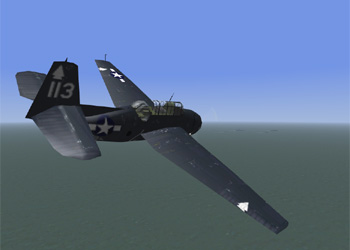 Parallel Course Zoom off [Z], bank 30°, flat turn Maintain altitude |
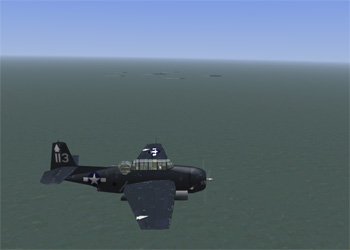 Abeam of CV Reduce throttle for 200 mph airspeed Bomb doors open [O] |
|
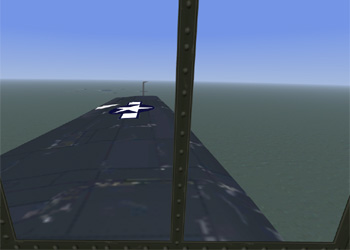 Align for Attack Run Turn Turn when pitot tube aligned with cruiser |
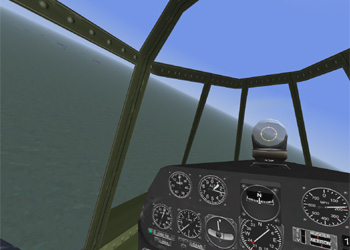 Attack Run Turn Throttle to idle, bank 30°, 1000 fpm descent |
|
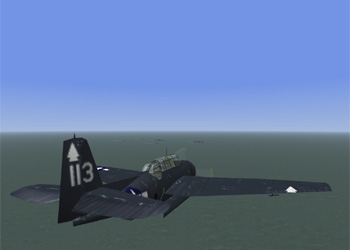 Attack Run Roll out on heading perpendicular to fleet course Continue 1,000 fpm descent |
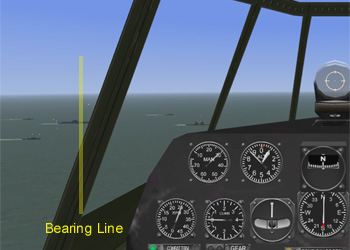 Drop Point <900', <200 mph, heading 90° to fleet Bearing line on target |
|
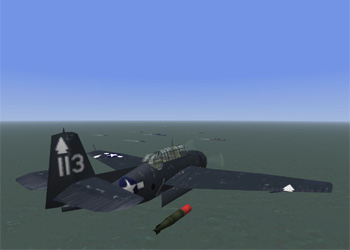 Drop Point Fleet ack just beginning to fire Release torpedo |
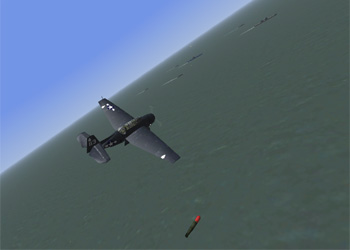 Begin Egress Hard turn to fleet course after drop Full throttle, descend to <100' |
|
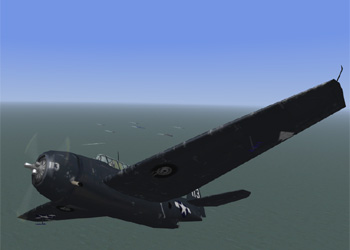 Egress Climb after outside fleet ack, doors closed [O] |
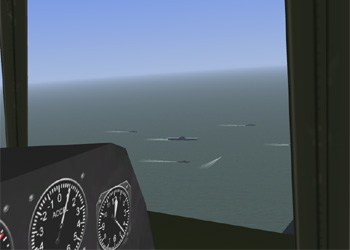 Torp Running Torpedo passes in front of destroyer |
|
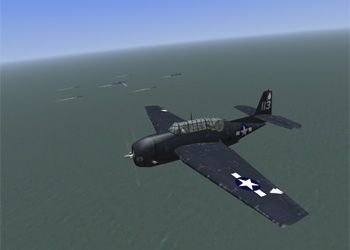 Torp Running One second from impact amidship |
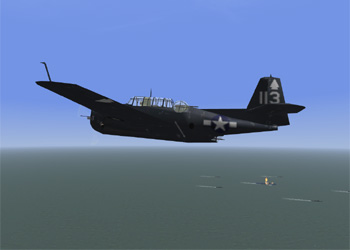 Impact Perfect strike with no aircraft damage |
Notes:
This TBM attack was used to present a method to practice and become familiar with the sight picture necessary to set up an attack run. Also, to illustrate that higher-altitude attacks can be successful. Torpedo attacks do not have to be below 200', but lower attacks do reduce the probability of being spotted and shot down by a ships gunner before releasing your torpedo.
You can approach the fleet from any direction. You'll have to estimate the fleet course and set up a perpendicular heading to that course at the right point in front of the fleet for your attack run.
One way to estimate 10° position after abeam of your target ship is to use maximum zoom [Z] []] in the side view. At maximum zoom, your field of vision is 30°, so you've traveled 10° when the ship center has moved 2/3rds the distance from the center to the trailing edge of your monitor.


